HANDSTAND PUSH UP TEMPLATE 2.0
All too often we see athletes with excellent capacity but a lack of positional awareness and stamina required for big sets of handstand push ups. We’ve revamped our HSPU template to try and address these issues with the hopes that you not only gain capacity, but maybe more importantly, gain confidence in a movement that rewards quality and punishes inefficiency.
Welcome to the Misfit Athletics Handstand Push Up Template 2.0. Handstand push ups require a unique combination of upper body strength, stamina, coordination, and mobility. We’ve found that good body awareness and positioning coupled with the stamina to knock out reps quickly is the difference between athletes who are good and those who are excellent. This template gives you the tools and the program, but we can’t emphasize enough how important movement efficiency is. Take the time to do it right, or you’ll be stuck on the wall while everyone else blazes past you. Good luck!
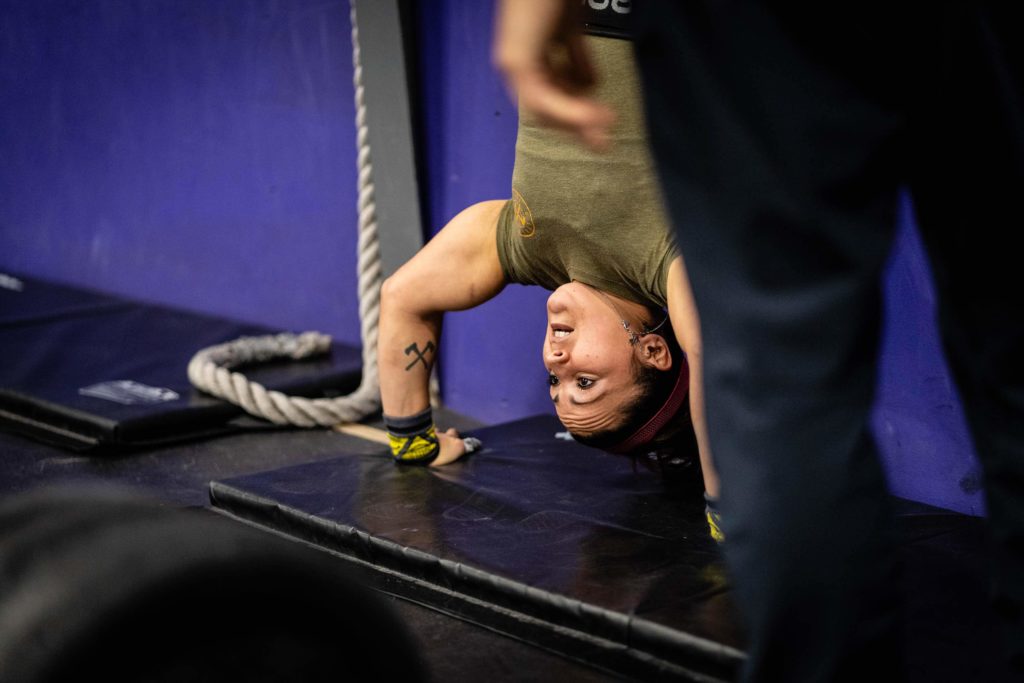
Kipping Handstand Push Ups
The repetition begins at the top of a handstand. The sequence of the handstand push up is critical: first, the athlete lowers their head to the floor and the crown of the head makes contact with the floor forming a tripod position. Second, the athlete allows their tailbone to make contact with the wall, at which point the athlete can load for the kip. During the loading phase of the kip, the athlete lowers their legs in a way that their heels stay close together and the knees flair outwards. Once legs are lowered, a violent hip and knee extension in conjunction with the press allows the athlete to achieve a strong lockout, finishing in the position that they started.
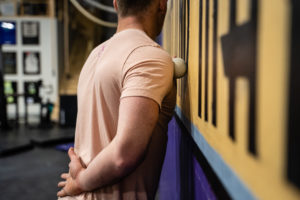
Wall Press
The wall press begins with the athlete against the wall with a light dumbbell in each hand. Correct body position has the athlete placing their head, upper thoracic, and pelvis against the wall. The repetition begins when the upper arm is at a 90-degree angle, relative to the torso. In the starting position, the athlete’s trunk and their dumbbells should be in contact with the wall. The athlete then presses the dumbbells into a locked out position overhead. It is imperative that throughout the duration of the press the upper body and dumbbell remain in contact with the wall. The correct weight for the wall press is light-to-moderate and it is absolutely crucial the athlete does not have degradation in their form as a result of the weight.
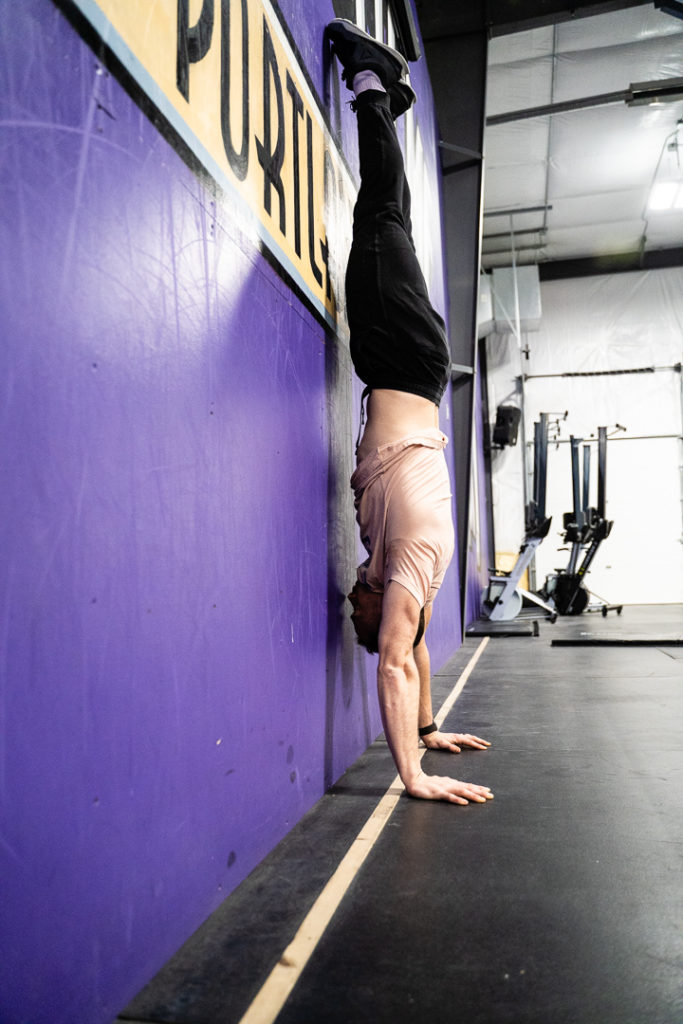
Strict Handstand Push Up
Similar to the kipping HSPU, the rep begins at the top and the athlete then lowers themselves until the crown of the head makes contact with the floor, forming a tripod position. The instant the athlete’s head makes contact with the ground, press immediately back into a handstand. It is imperative that the athlete does not relax or lose tension once the head makes contact with the floor. One additional point of emphasis: as the athlete begins the press, it is crucial they do allow their midline tension and stability to change. Maintaining a tight, hollow-body position throughout the press is critical for success. At the top of the repetition, the athlete’s ear should be in line with their extended arms.
Handstand Push Up Negative
The strict handstand push up requires an immense amount of upper body mobility and strength. For athletes that struggle with proper technique in the strict handstand push up, negatives may help develop this strength and skill. We are looking for the same points of emphasis as previously described, but the key here is the speed with which you lower yourself: the slower the better. Aim for consistency in the speed of your descent throughout the lowering phase.
Additional Exercises
Maintaining a quality hollow position is the correct and most efficient way to perform the handstand push up, and relies heavily on adequate mobility throughout the entire shoulder girdle and thoracic. Below are a few additional exercises that can be found within the template that we believe will significantly improve your ability to conquer the handstand push-up
Noes and Toes Hold
The noes and toes hold is an excellent drill that serves multiple purposes. First, this drill serves as both a test of mobility and a training exercise that improves overhead and thoracic mobility. To add a dynamic strength element, get into the Noes and Toes Hold by performing a wall walk.
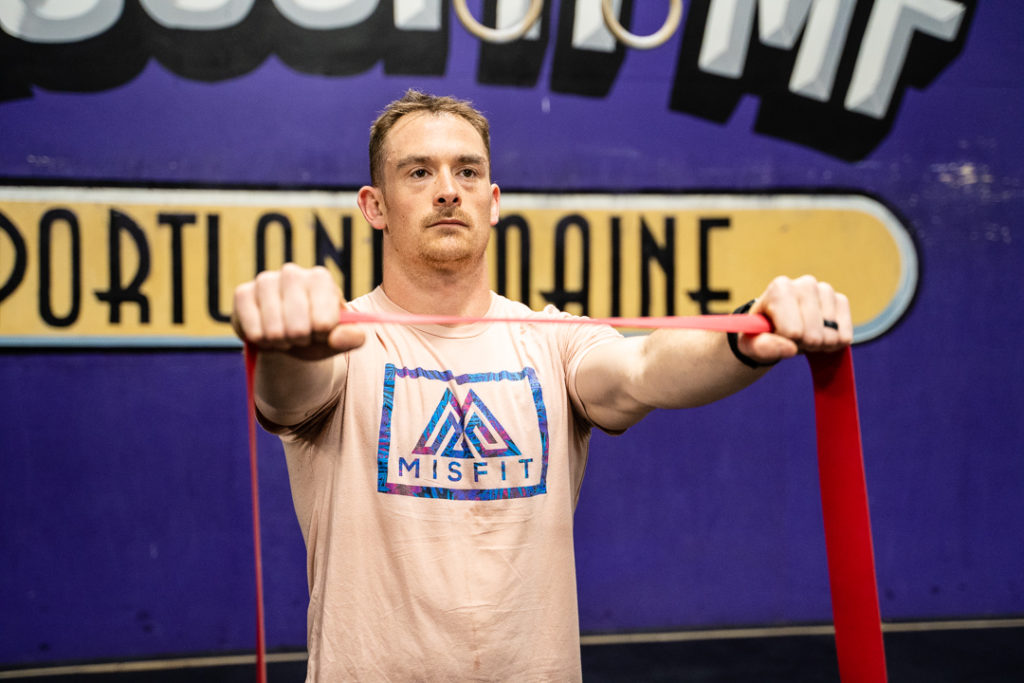
Band Pull Aparts
The band pull apart begins with the arms extended in front of the athlete, and hands chest-width apart with the palms facing down. In a slow and controlled manner, the athlete slowly separates their hands by pulling the band apart and squeezing their scapulae together. It is imperative that the focus here be to control in both the concentric and eccentric phases.
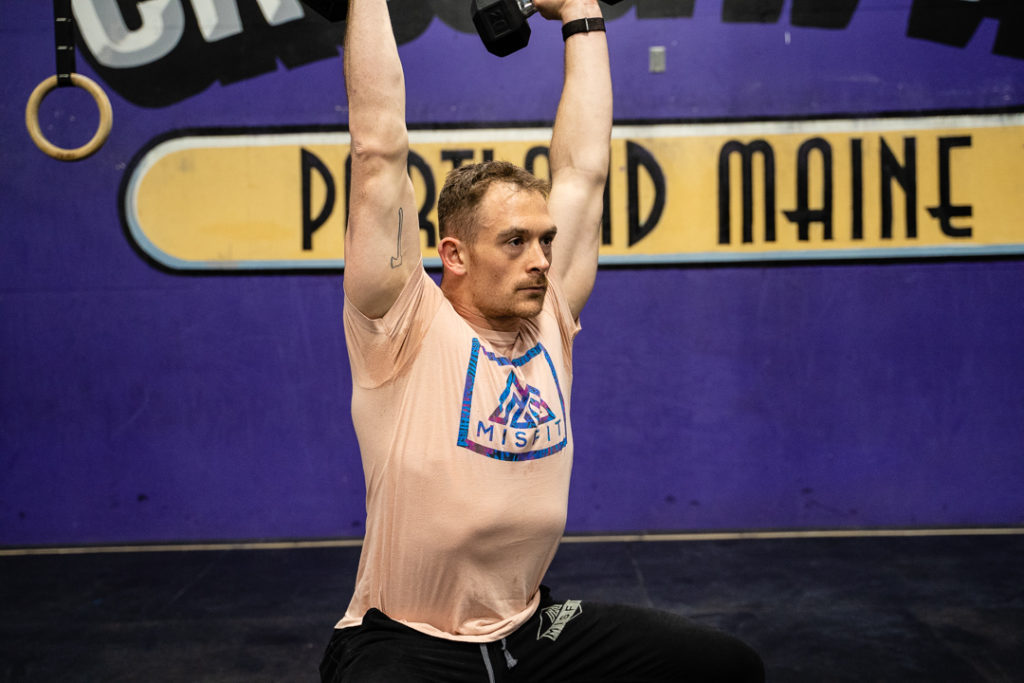
Seated Dumbbell Strict Press
We are looking for the athlete to be seated on either a box or a bench with dumbbells in the front rack. Throughout the duration of the press do not allow yourself to lean backward to utilize more of the pecs, nor should you allow yourself to overextend through the ribcage. Squeeze your midline and press the dumbbells strongly overhead. If the weight causes your form to breakdown, go lighter.

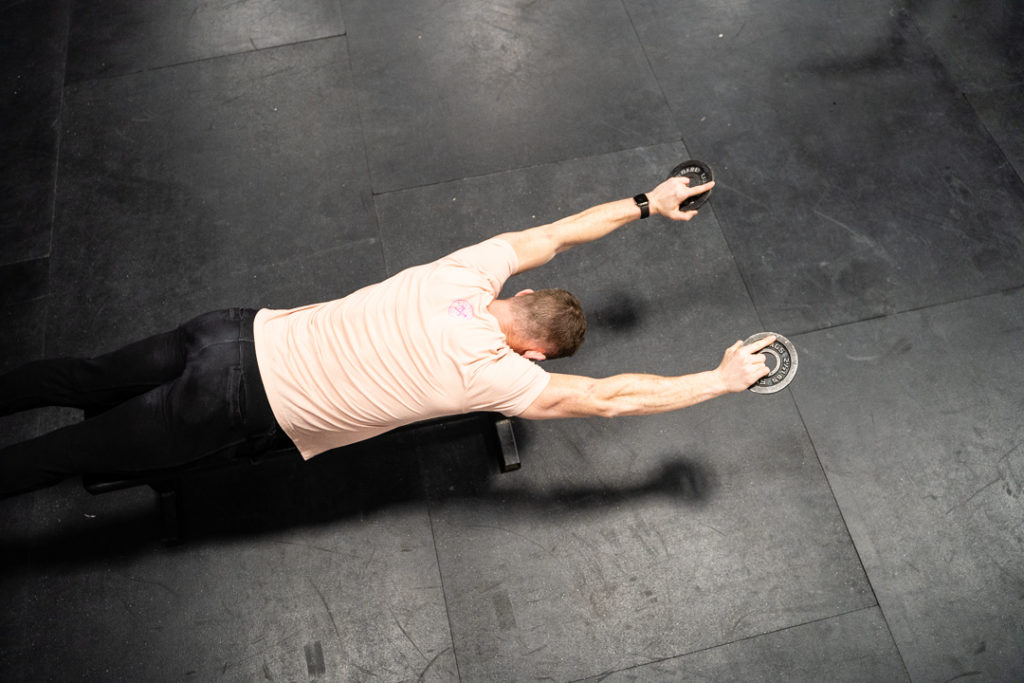
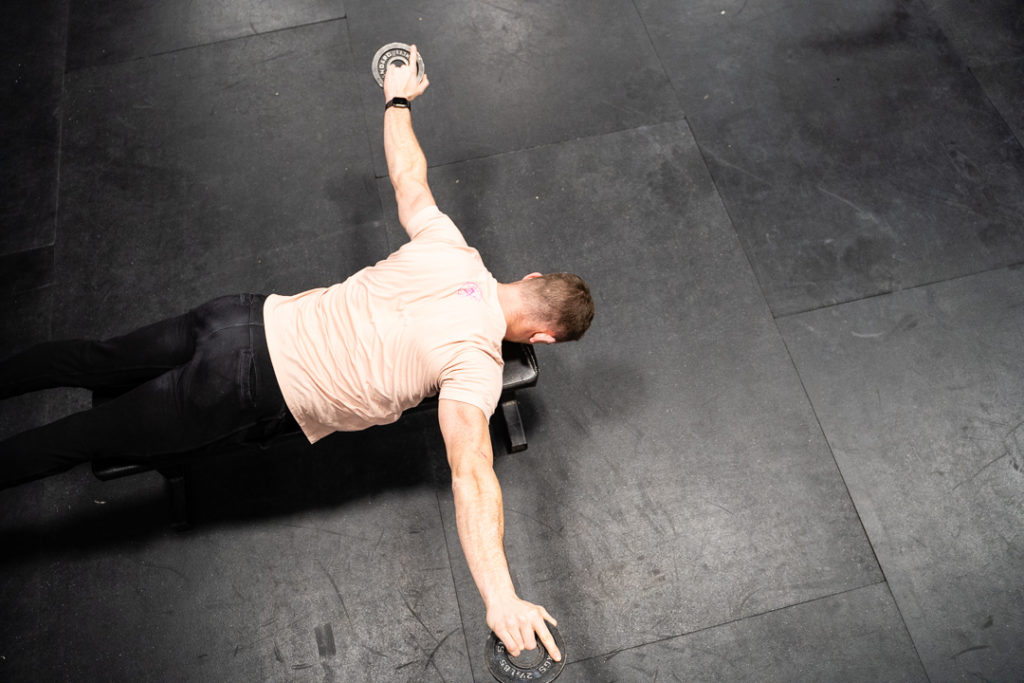
ITY’s
The “I,T,Y” is an accessory exercise specifically for targeting smaller muscles that surround the shoulder girdle. Strengthen these smaller muscles will serve the purposes of reducing shoulder impingement and discomfort that can occur be repeatedly practicing overhead movements. The photos depict an athlete moving through each position on the floor, however these may be done from a standing position with a band system around a rig.

Mobility
Maintaining a quality hollow position is the correct and most efficient way to perform the handstand push up, and relies heavily on adequate mobility throughout the entire shoulder girdle and thoracic. These are a few mobilizations we recommend that will enable you to get into the positions requires to handstand walk correctly, and keep you supple while you work through the program.
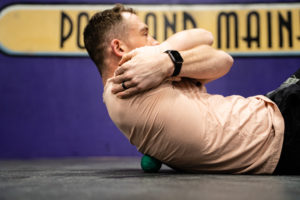
Double Lacrosse Ball (Peanut)/T-Spine Smash:
Place a double lacrosse ball on the upper third of your back and centered such that your spine “rests” in the valley created by the two balls. Roll up and down, softening up the muscles around your upper back and traps. You can raise both arms over your head and lean back and/or hug yourself as shown above.
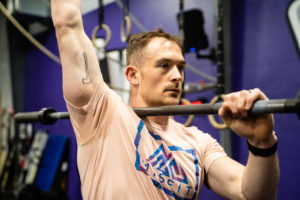
First Rib Smash:
Place a lacrosse ball in the soft tissue above your collarbone near your neck. Set yourself underneath a loaded barbell in a rack and stand into the barbell, forcing the lacrosse ball into that tissue. Raise and lower your arm both in front of your body and laterally, holding in restricted or tight areas.
Single Lacrosse Ball Trap Smash and Deltoid Smash:
For the trap smash (top), place a single lacrosse ball on the meaty portion of the back of your traps. With the same side arm, raise, lower, and move side to side smashing your traps. Reposition the lacrosse ball working all the way around your scapula. For the deltoid smash (bottom), simply pin the lacrosse ball between your outer shoulder and a wall and move side to side. Work all the way from front to back.
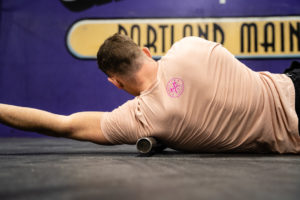
Barbell Lat Smash:
The lat smash helps open up the overhead position by loosening up some of the musculature in the back. Simply use the collar of a barbell (we think the collar is more effective than a soft roller) and oscillate back and forth. “Rolling” is ok, but we recommend smashing across the muscle fibers for the best effect. Go from your armpit all the way down to your lower lat.
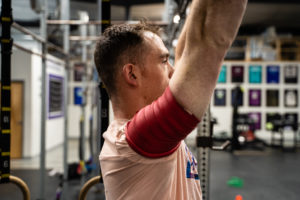
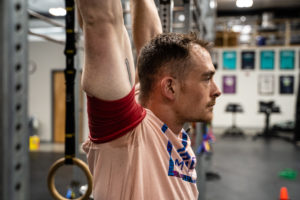
Gymnastic Kip with Voodoo Floss
The focus is on opening and closing your shoulder joint. The floss band will assist in breaking up adhesions around the shoulder girdle
Tempo Barbell Strict Press
Perform slow and controlled reps of a barbell strict press. You are using a 5-count on the way up and on the way down. The goal is to “work through” any “sticky” points
in the range of motion.
Time to Get to Work
Over the next three weeks, you’ll be inverted five days a week drilling positions, mobility, and improving your stamina overhead. The template moves quickly because we believe most of you already have the requisite strength to support yourself upside down, and the only missing link is simply a written program forcing you to practice these skills. Mobility is included each day and is absolutely required given the amount of time you’ll be on your hands. Get to work.