HANDSTAND WALK TEMPLATE
Welcome to the Misfit Athletics Handstand Walk Template. As our sport continues to grow and develop, the need to become proficient upside down is no longer optional. With the introduction of obstacles, zig-zag courses, and handstand walking for speed, you simply don’t have a fighting chance if you don’t have the basics down. Handstand walking is primarily a skill, and requires both neurological adaptation and time under tension to develop. Read: it simply takes practice. This program addresses both aspects and also includes plenty of mobility to improve your overhead positioning. Good luck!
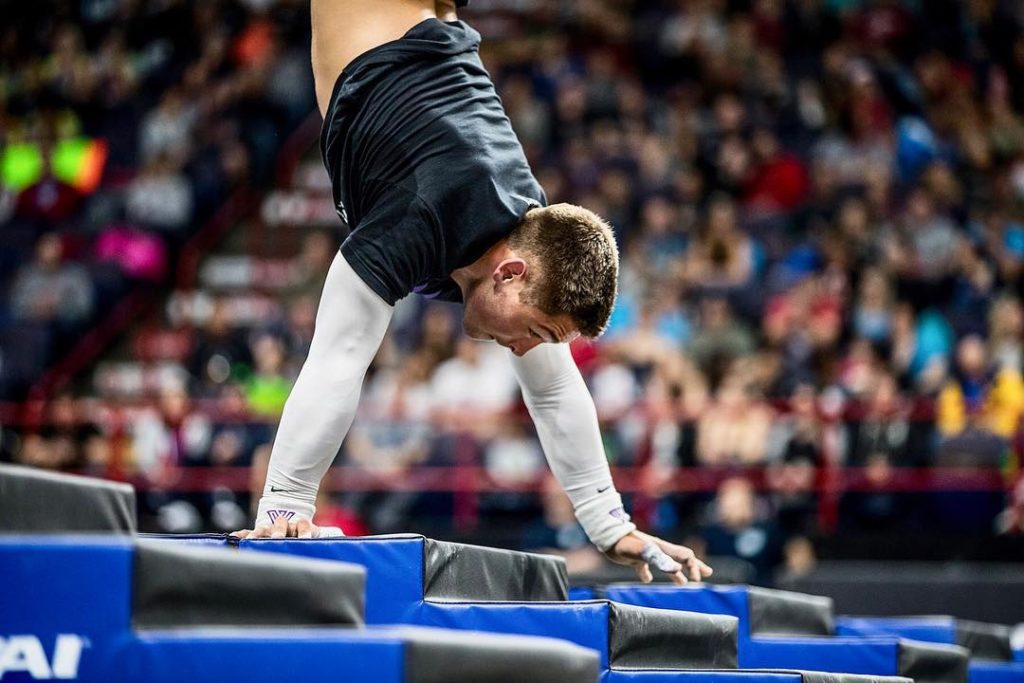
Handstand Walk On A Box
This drill helps get you comfortable being upside down without having to support the full weight of your body. Simply choose a box that allows you to get your knees or toes on top of it and then press yourself into a pike position. It’s important to get your torso as vertical as possible rather than looking like you’re about to do a decline push up. From there, press into the ground and walk side to side, or in a circle around your box. The higher the box, the more of your bodyweight you are supporting.
Handstand Hold With Weight Shift
Handstand walking relies heavily on being comfortable shifting your weight from one hand to the other, which is exactly what this drill reinforces, however we’ve removed the box and want you supporting your full bodyweight. Kick up into a perfect handstand hold against the wall, squeeze your glutes and midline, and then slowly shift your weight from one hand to the other while gripping the ground with your fingertips. As you become more comfortable, you can lift your hands a little more, eventually tapping your shoulders.
Shoulder Taps
Speaking of tapping your shoulders… While maintaining a perfect hollow position, slowly shift your weight from one hand to the other. Lift the non-planted hand a few inches at first, progressing eventually to tapping the same-side shoulder and then returning the hand to the ground. Continue back and forth for a prescribed duration or number of taps. If you’re able to these, walking on your hands is now just a matter of balance and body awareness.
Lateral Walks Along A Wall
This is another excellent time under tension drill to develop the stamina required for walking with the added benefit of actually moving rather than remaining stationary. Move slowly and focus on maintaining strong positioning from hands to toes, taking small lateral steps at first and then progressing to larger ones.
Handstand Walk Into A Wall
Now we introduce the importance of forward momentum. Start such that you only have to take one or two steps, ensuring your heels make first contact with the wall. Once your heels are in contact with the wall and you are under control kick down. Slowly add a little distance between your hands and the wall as you become more comfortable. One of the most common issues we see when learning this skill is maintaining forward momentum and leading with the heels. The wall allows you to take as many or as few steps as you like while receiving immediate feedback that you are or are not leading with your heels.
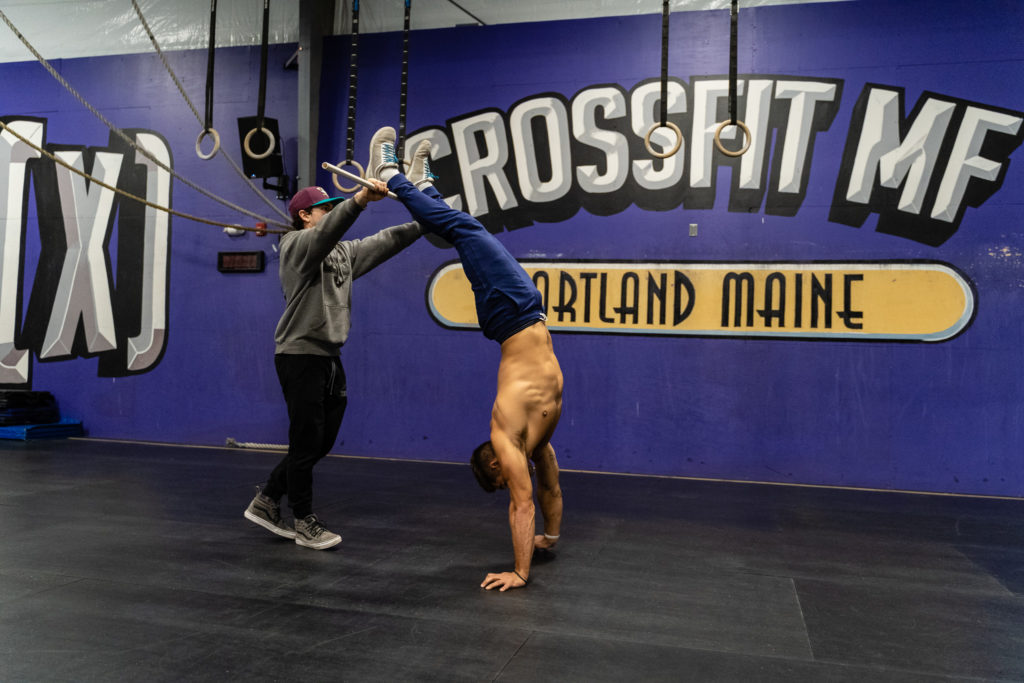
Partner Assisted Handstand Walks
Similar to the Handstand Walks Into A Wall, the Partner Assisted Walk provides the tactile feedback of the PVC pipe for the handstand walker to lean into. A partner simple holds a PVC pipe or similar object up at calf level while you kick into your handstand. Again, this drill reinforces the need for you to maintain forward momentum by leading slightly with your heels. While you slowly walk forward, your partner slowly backs up. Both this drill and walks into a wall have similar benefits, so try them both.
Mobility
Maintaining a quality hollow position is the correct and most efficient way to handstand walk, and relies heavily on adequate mobility throughout the entire shoulder girdle and thoracic. These are a few mobilizations we recommend that will enable you to get into the positions requires to handstand walk correctly, and keep you supple while you work through the program.

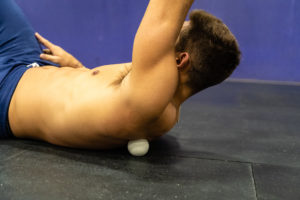
Double Lacrosse Ball (Peanut)/T-Spine Smash:
Place a double lacrosse ball on the upper third of your back and centered such that your spine “rests” in the valley created by the two balls. Roll up and down, softening up the muscles around your upper back and traps. You can raise both arms over your head and lean back and/or hug yourself as shown above.
Barbell Lat Smash:
The lat smash helps open up the overhead position by loosening up some of the musculature in the back. Simply use the collar of a barbell (we think the collar is more effective than a soft roller) and oscillate back and forth. “Rolling” is ok, but we recommend smashing across the muscle fibers for the best effect. Go from your armpit all the way down to your lower lat.

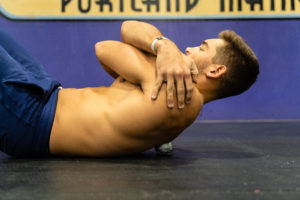
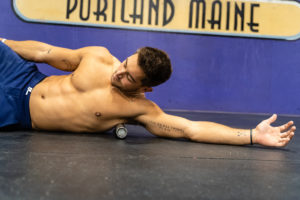
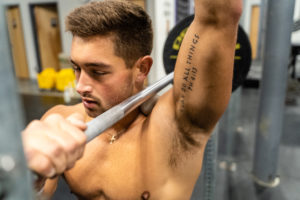
Single Lacrosse Ball Trap Smash and Deltoid Smash:
For the trap smash (top), place a single lacrosse ball on the meaty portion of the back of your traps. With the same side arm, raise, lower, and move side to side smashing your traps. Reposition the lacrosse ball working all the way around your scapula. For the deltoid smash (bottom), simply pin the lacrosse ball between your outer shoulder and a wall and move side to side. Work all the way from front to back.

Banded Internal Shoulder Rotation
Attach a band to a rig or support. Put your hand through the band and pin the back of your hand to your lower back. Gently lean or step forward until you feel a gentle stretch in the front of your shoulder. You can also perform this stretch without a band by simply reaching behind and grabbing ahold of a support.
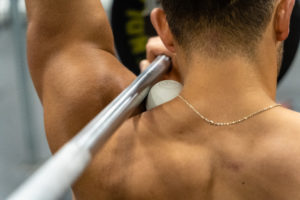
First Rib Smash:
Place a lacrosse ball in the soft tissue above your collarbone near your neck. Set yourself underneath a loaded barbell in a rack and stand into the barbell, forcing the lacrosse ball into that tissue. Raise and lower your arm both in front of your body and laterally, holding in restricted or tight areas.
Time to Get to Work
Over the next three weeks, you’ll be inverted five days a week drilling positions, mobility, and improving your stamina overhead. The template moves quickly because we believe most of you already have the requisite strength to support yourself upside down, and the only missing link is simply a written program forcing you to practice these skills. Mobility is included each day and is absolutely required given the amount of time you’ll be on your hands. Get to work.